Learn to add, edit and delete them here
Create a new Smart View
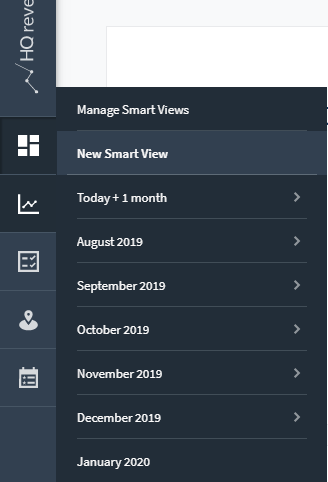
1. Select Smart View from the side menu and choose New Smart View:
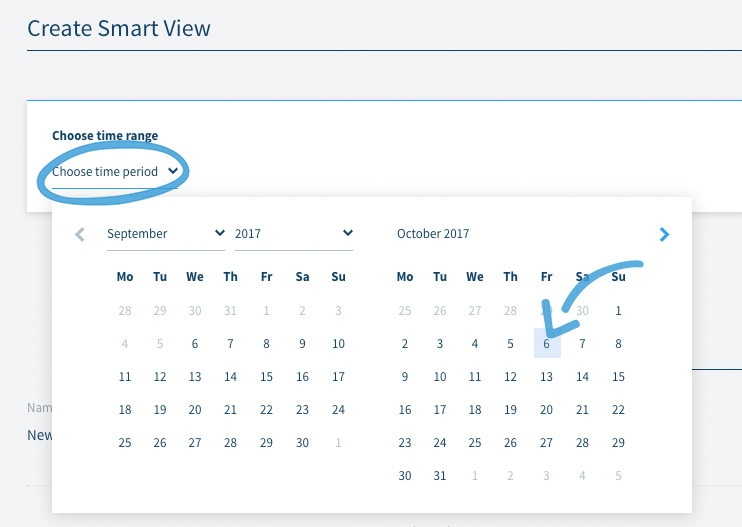
2. Choose the time range by clicking on Choose time period and selecting your dates:
3. By clicking on Save Smart View you will save it with the pre-configured settings and name standard:

4. To customize your settings click on the edit symbol next to Smart view Parameter.
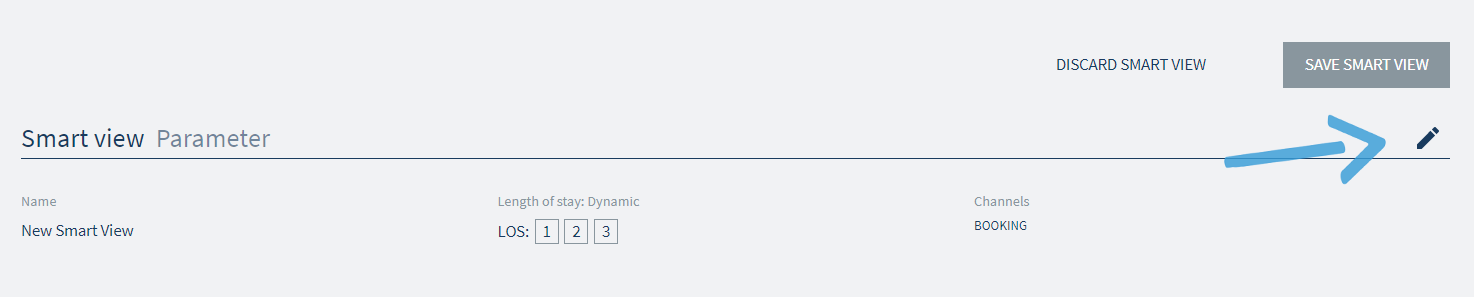
5. Here you’ll be able to choose the Name, Length of stay, Channels, and Feed for your new Smart View.
6. Once you are satisfied with your settings, click on Save Smart View to save your new one or on Discard to delete it.
Manage existing Smart Views
Select Smart View from the side menu and choose Manage Smart Views.
You will see a list of all the Smart Views you have created; to open one, just click the corresponding row.
Once you open a Smart View, you can also export it simply by clicking on the share icon on top of the graph.
How to delete a Smart View
To delete a Smart View simply click on the bin icon on the corresponding row.
How to edit a Smart View
To edit a Smart View click on the edit icon on the corresponding row; you will encounter the same interface as when you create a new Smart View.
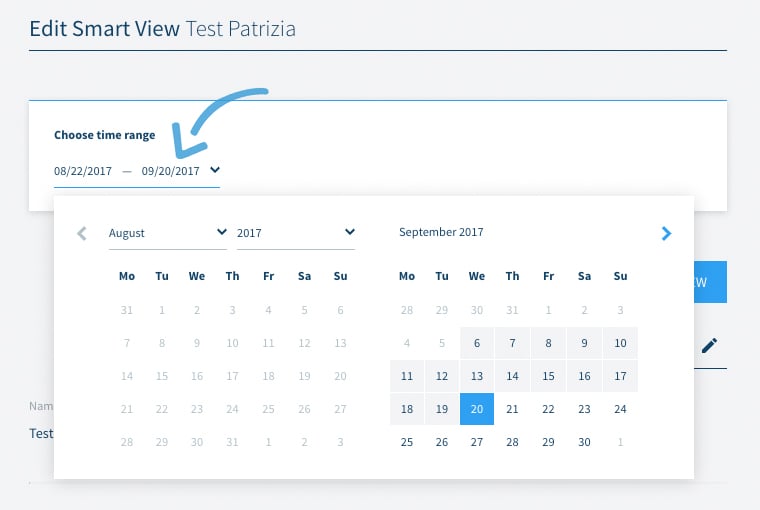
To edit the time range re-select the drop-down calendar and change to the desired dates.
To change other parameters, click on the edit icon next to Smart view Parameter.
You can change the Name, Length of stay, Comp Set, Channels, and Feed of the Smart View.
To save your changes click on Save Smart View, otherwise, click on Discard Changes.
Do you have any questions or need help?
Contact our support team, and we will be happy to help you.